A very satisfying and quite quick revamp / renewal of this little footstool
From this rather sad looking thing ... to this smart little stool with a super vintage Sanderson fabric :)
I really should have taken more pictures of the stages involved BUT if you are interested this is what I did ....
1. Remove feet and strip bank to wood - the old foam etc was rather yucky and NOT for reusing! I didn't bother removing all the tacks on the edges of the wood base as I had a cunnng plan to cover them up and in any case was going to use a staple gun to tack fabric on underneath the stool .
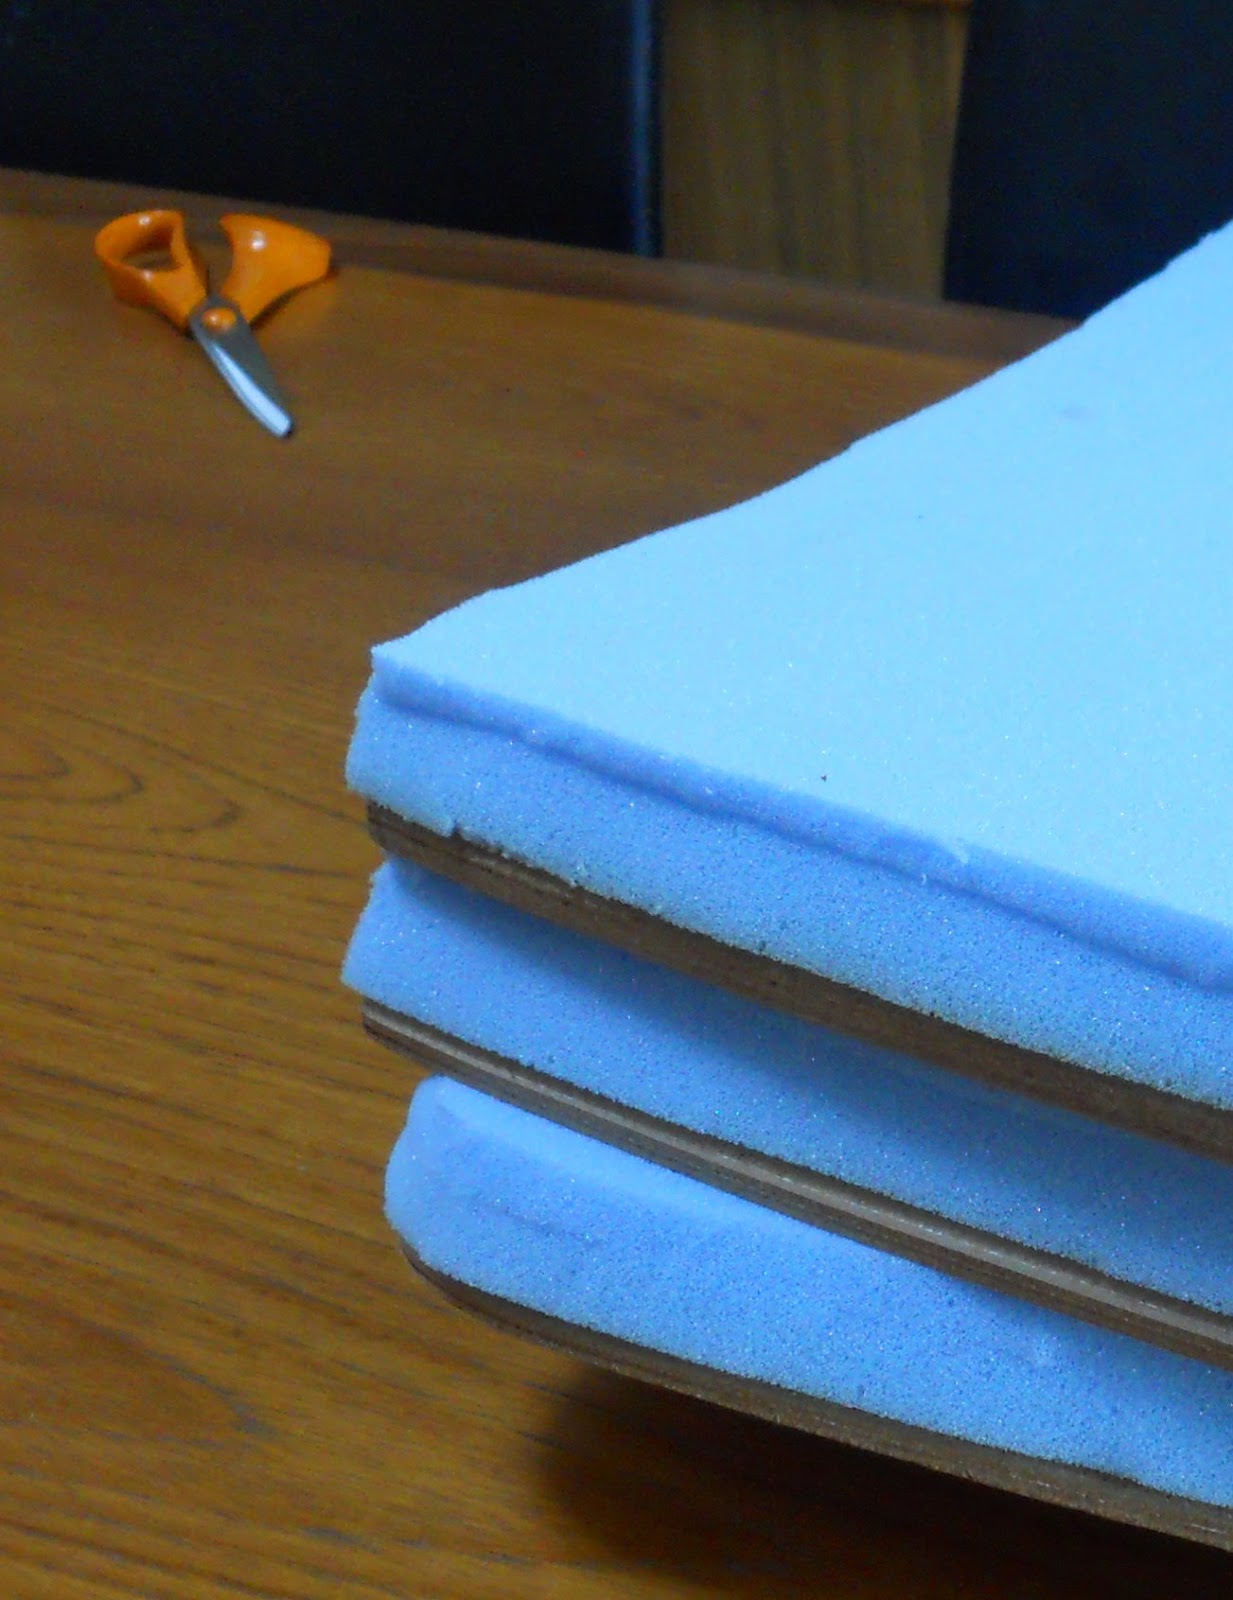
2. I used the wood base to create a circle tamplate - I used this to cut foam, the polyester wadding circle/strip, and the lining fabric circle and strip and another circle of fabric to sew on underneath to cover up base at the end . I made sure that the side strips of wadding and lining fabric had a generous overlap of fabric to allow them to be stapled to underside of stool base - about 5cm deeper than foam.
3. I handstitched the circle of wadding and side strip of wadding over the foam - now you COULD just use foam by itself BUT the wadding gives a smoother finish - also any roughness in foam edges is masked AND those tacks that I couldn't be bothered to prise off are also covered up :)
4. I machined sewed together the circle and strip of lining fabric - I always prefer to line upholstery projects like this but you could just put your top fabric straight on. You could just use one piece of lining fabric and staple it on BUT if you fit the lining fabric it minimises the pleating/fabric gathers when you come to staple it on- I think it results in a smoother final finish.
5. Making sure I had a reasonably tight fit I put foam on base , put lining cover on and stapled it on with an upholstery staple gun ( such a useful bit of kit!). Staple underneath at one point first , then pulling fabric fairly tauntly/firmly directly opposite staple again. Do the same but at right angled to you first pair of fixings - so basically you have staple at each quarter of the circle ( sorry this is a bit of a rubbish explanation! you then can work between each set of staples aimimg for lots of small gathers/pleats, rather that one or two larger ones, to get a smooth a finish as you can. What you DON'T do is start stapling at one point and work your way round! you will end up with a huge wad of excess fabric at the end - trust me on this....
6. Then I stapled on my top fabric in same way ( a great vintage Sandersons one - was actually an apron when it came to me!) and trimmed off excess fabric underneath . You will see that I didn't make a fitted cover as I wanted a single piece of fabric to show off the design. You do have to do a bit more gathering and pleating but it's not difficult if you remember to do lots of small ones :)
7. Finishing time ! I hand sewed a hemmed circle of lining fabric underneath covering up raw edges of wadding/lining/fabric /staples. I then had this very pretty embriodered/scalloped edged floral bias binding which I hand sewed on the bottom edge - it didn't NEED this to cover up anything but it is a good finishing touch. I screwed legs back on through the lining fabric underneath - ALL DONE
When I read it back this looks like a lot of work - it really isn't ! although if you aren't keen on handsewing ( I like it) you might want to skip some of the finishing BUT in my opinion it is those bits that make for a neatly finished project.
Loving the vintage vibe!
Here's where I'll share my obsession with vintage fabric! It's taking over my house!
I'll sharing with you my favorite fabrics, my 'adventures" in dressmaking using vintage patterns, some home furnishing ideas and no doubt I'll be telling you about any exciting finds! Love to hear about your vintage adventures too!
My first Shop was AudreysCat ( online shop May 2010) , but my new logo / name - WittyDawn , arrived Jan 2014.
I hope you'll have time to browse my shops too !
Showing posts with label furniture. Show all posts
Friday, 27 February 2015
Friday, 6 December 2013
Just been featured in my Local Paper!
How exciting - a little ( well partically a FULL page !) feature in my local paper - the Wiltshire and Gloucestershire Standard .. FAME AT LAST ....!
Many thanks to Charlotte Shepard for the great write up - I enjoyed our cuppa and chat - and to Richard for , against expectation, managing to make me look half decent in a photo. Do not underestimate the difficulty this presents as I usually pull a stupid face !
The immediate result was one of my very lovely nieghbours popping round to order some Christmas gifts :)
Sunday, 31 March 2013
Latest House Project - hall revamp 70s style !
A work in progress - but we have started by painting a Hall way wall purple! Watch out for future photos....
These are other things to do with some of my vintage fabric for this project
1. Cover a HUGE canvas with this fabric to go on wall
2. Use some of this as feature fabric on a cream or beige full length door curtain ( it's a Heals barkcloth called 'Pageant' by Jyoti Bhomic - expensive stuff )
3. Learn how to cover lampshades in the fabric above!
4. Find a spot to also hang this large painting that I did a while ago
Ok it won't be subtle but it also won't be dull!
Pictures to follow when complete - hopefully in a couple of weeks :)
Wednesday, 19 December 2012
The Car Boot Vintage 70s Wallpaper is UP!
We found this wall paper a couple of year ago for £1 and finallty got around to putting it up! we have quite a few vintage bits of furniture now about the house favouring 70s solid wood and a fair bit of G Plan. This is a feature wall in our rather large L shaped family room/dining/kitchen area, the accent colours throughout being orange, aqua and turquoise.
We recently replaced our Dining room suite with a G plan one , reupholstered by myself in a favorite Francis Price barkcloth. The large horse textile hanging is on the opposite wall to the wallpaper one. PLEASE NOTE my house is not normally this tidy !
Tuesday, 22 May 2012
My latest 'House' project
Subscribe to:
Posts (Atom)


.jpg)