Loving the vintage vibe!

Here's where I'll share my obsession with vintage fabric! It's taking over my house!

I'll sharing with you my favorite fabrics, my 'adventures" in dressmaking using vintage patterns, some home furnishing ideas and no doubt I'll be telling you about any exciting finds! Love to hear about your vintage adventures too!

My first Shop was AudreysCat ( online shop May 2010) , but my new logo / name - WittyDawn , arrived Jan 2014.

I hope you'll have time to browse my shops too !

Showing posts with label house. Show all posts

Saturday, 10 October 2015

DIY Custom made Ironing Board for my Studio !

So this DIY Custom made Ironing Board was our project today! insprired by many similar things on Pinterest.

Requirements:
  • Reusing items we had already if possible
  • Specific size  - 45cm wide  but not too long, and higher that normal as I'm quite tall
  • Easily movable
  • Maximising storage


We did have to buy wood for the top, casters, wadding and metalized ironing board cover BUT re-used :
  • An ikea unit that had been given to us and which we had modified.
  • Old shelving wood left over from out kitchen refurbishment
  • Fabric that I had already 
It was a joint project !
OH cut wood to shape, bolted on lockable casters and added wood panels on each side to increase height.

I came up with the design and then - using my SO SO useful staple gun - added wadding and ironing board cover to top and then finished it with a pretty cotton fabric. TOP TIP - if you are going to staple a cover on remember you don't want staples to catch fabric if you are in habit of ironing items over the end of your ironing board hence I covered the under side with some handstitched fabric ( not the WHOLE underside just the end piece ! )

Very pleased with the new addition to my studio! I think the total cost was about £40 for the new items.

I may paint it but it looks pretty good as it is so that may never happen!


Tuesday, 8 September 2015

A New Kitchen with actual NEW things for a change....albeit still a bit RETRO!

Now if you follow this blog you will by now know that I am very keen on a bit of vintage/recycling/upcyling. This applied to my so called 'temporary' kitchen 7- 8 yrs old. We  used Ikea Varde freestanding units because we'd had them before and they are ACE. Some from ebay, one as a sale/second and a couple new. We sourced a sink from ebay and reused all kinds of beech worksurfaces - all different height! and we reused exiting appliences .  It cost us about £1400 in total.
And jolly nice it was too! .... but my slightly dodgy back demanded a higher oven ( when it's bad I have had to kneel down to get stuff out of oven and lift up on to counter ! NOT GOOD!)  and I had a 25 yr savings plan to play with so....

We are working on a new kitchen !!!

This is the progress so far - I am awaiting granite ( whoop!) worktops and then my builder ( and good friend ) will be back to do lots of inventive carpentry finishing touches. We have no working sink in the kitchen yet and no hob BUT we do have a utility sink and a working dishwasher and new oven so not slumming it by any means . I STILL have more painting to do !

Upcycling is still a feature to some extent - one Ikea Varde unit remains in place and will get a blue paint job. Two other Varde units and some shelving has  moved to the shed to form a work table/area. Several other kitchen items have been popped onto ebay to continue to serve elsewhere :) Kitchen bits! 

I will name check all our suppliers when I post a final update when it is finished - but they have ALL been excellent so far.  I will also cover what inspired the colour choices ... hint: that car boot £1 vintage wallpaper that you can spot on right!

I have a deadline of the 25th Sept as I am hosting a Macmillan Coffee morning but I think we will make it....

Friday, 29 May 2015

Studio update - nearly there !

A quick update!

The roof is on and the next step is putting the windows and doors in .


And my quest for recycled furniture continues ....  the trolley was £2 from a carboot BUT may end up in my kitchen ... and the map chest was £90 , it had a date ot 1969 stamped inside :)


Lots of furniture renovations to do!

Wednesday, 6 May 2015

The builders are in..... and working hard on my Sewing Room!

Exciting times ahead - no longer will my poor family have to put up with piles of vintage fabric EVERYWHERE...

The builders have started! and I will soon have a dedicated hobby/craft room with a HUGE cutting table and all my vintage fabric will be in one place. When I make a dress I will no longer have to do the 'house sewing circuit' - YOU know the one... cut it out downstairs on dining room table, sew it in tiny box room, try it on my bedroom and repeat.. and repeat....

In the meantime I am acquiring 'projects' to furnish my space DAILY and each fabric I pick up is THE one on which to base my colour scheme , until the next one comes along that is ...

Now whilst you might think 'lucky girl' ... well ... yes indeed!... but.... this is the result of a savings plan that dates back  25 YEARS !!! .... so I have waited a while ;)

My objective is to furnish it as much as possible from recycled items and thrifted finds but even so the pennies only stretch so far - and realising just what an INSANE amount of fabric I have I have been selling some on via ebay - if you like vintage fabric you might like to check it out ?


This is what I have listed on Ebay this week !


At the moment I am on the lookout for a Architects Plan/ Map chest - to store my patterns and my artwork . The latter is 'stored' under an armchair at the moment - NOT ideal.

I'm also after either an Ercol or a Lloyd Loom chair as well. Then - in theory - I am sorted ( ish... famous last words .... )

Watch this space ....

Friday, 27 February 2015

A little revamp DIY project - Footstool Makeover!

A very satisfying and quite quick revamp / renewal of this little footstool
From this rather sad looking thing ... to this smart little stool with a super vintage Sanderson fabric :)

I really should have taken more pictures of the stages involved BUT if you are interested this is what I did ....


1. Remove feet and strip bank to wood - the old foam etc was rather yucky and NOT for reusing! I didn't bother removing all the tacks on the edges of the wood base as I had a cunnng plan to cover them up and in any case was going to use a staple gun to tack fabric on underneath the stool .
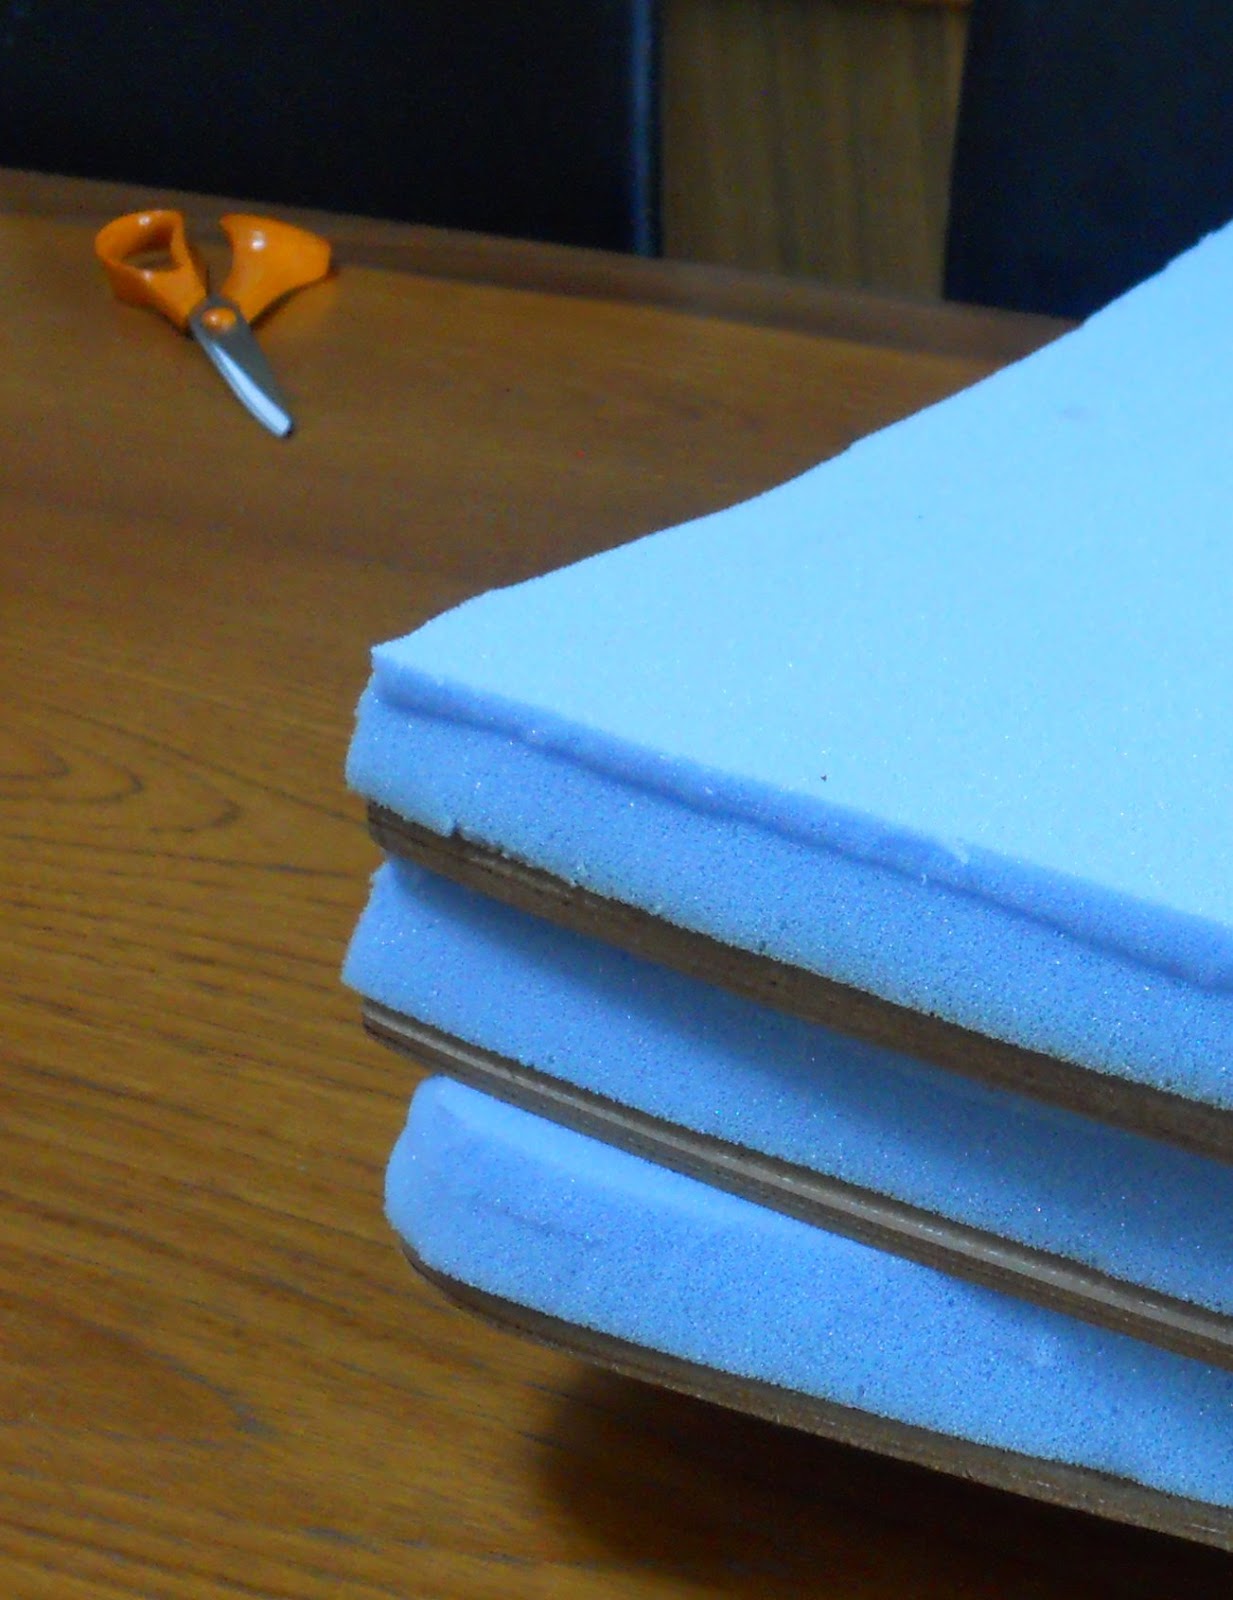
2. I used the wood base  to create a circle tamplate - I used this to cut foam, the polyester wadding circle/strip, and the lining fabric circle and strip and another circle of fabric to sew on underneath to cover up base at the end . I made sure that the side strips of wadding and lining fabric had a generous overlap of fabric to allow them to be stapled to underside of stool base - about 5cm deeper than foam.
3. I handstitched the circle of wadding and side strip of wadding over the foam - now you COULD just use foam by itself BUT the wadding gives a smoother finish - also any roughness in foam edges is masked AND those tacks that I couldn't be bothered to prise off are also covered up :)
4. I machined sewed together the circle and strip of lining fabric - I always prefer to line upholstery projects like this but you could just put your top fabric straight on. You could just use one piece of lining fabric and staple it on BUT if you fit the lining fabric it minimises the pleating/fabric gathers when you come to staple it on-  I think it results in a smoother final finish.
5. Making sure I had a reasonably tight fit I put foam on base , put lining cover on and stapled it on with an upholstery staple gun ( such a useful bit of kit!). Staple underneath at one point first , then pulling fabric fairly tauntly/firmly directly opposite staple again. Do the same but at right angled to you first pair of fixings - so basically you have staple at each quarter of the circle ( sorry this is a bit of a rubbish explanation! you then can work between each set of staples aimimg for lots of small gathers/pleats, rather that one or two larger ones, to get a smooth a finish as you can. What you DON'T do is start stapling at one point and work your way round! you will end up with a huge wad of excess fabric at the end - trust me on this....
6. Then I stapled on my top fabric in same way ( a great vintage Sandersons one - was actually an apron when it came to me!) and trimmed off excess fabric underneath . You will see that I didn't make a fitted cover as I wanted  a single piece of fabric to show off the design. You do have to do a bit more gathering and pleating but it's not difficult if you remember to do lots of small ones :)
7. Finishing time ! I hand sewed a hemmed circle of lining fabric underneath covering up raw edges of wadding/lining/fabric /staples. I then had this very pretty embriodered/scalloped edged floral bias binding which I hand sewed on the bottom edge - it didn't NEED this to cover up anything but it is a good finishing touch. I screwed legs back on through the lining fabric underneath - ALL DONE

When I read it back this looks like a lot of work - it really isn't ! although if you aren't keen on handsewing ( I like it) you might want to skip some of the finishing BUT in my opinion it is those bits that make for a neatly finished project.

Friday, 13 February 2015

Bit poorly, weather uninspiring .. perfect time to quilt !

So I've been battling a cold and I'm feeling a bit rubbish ... so I've been quilting!

I'm passing the time working on a hexie quilt  for us ....  ALL handsewn so goodness knows how many hours have gone into THIS one so far ! I think if I were to work it out the labour alone would run into £400 plus!

... however it IS a very pleasent way to pass the time :)


I've also been been finishing some projects to pop in my shop  on Folksy -WittyDawn  

Why not pop over for a look ?

Thursday, 6 February 2014

More Thrifted Vintage Furniture

OMG how I LOVE this.

As it was a tad 'out there' I did feel I should show it to OH before I bought it though - however as usual he totally gets the idea and thought it was pretty fabulous . So for a massive £25 we bought it...

SLIGHT problem , he went to collect it and arrived back rather shamefaced ... one of the glass doors dropped out whilst being loaded to the car ...opps

However I do still love it, looks great in our bedroom and I'm sure we can get another glass door made ...meh... it's not like we paid a massive amount for it :)

PS. the mirror was another local charity shop buy - I think I paid about £8 for it - they look pretty good together I think :)

Friday, 6 December 2013

Just been featured in my Local Paper!

How exciting - a little ( well partically a FULL page !) feature in my local paper - the Wiltshire and Gloucestershire Standard .. FAME AT LAST ....!

Many thanks to Charlotte Shepard for the great write up - I enjoyed our cuppa and chat - and to Richard for , against expectation, managing to make me look half decent in a photo. Do not underestimate the difficulty this presents as I usually pull a stupid face !

The immediate result was one of my very lovely nieghbours popping round to order some Christmas gifts :)


Saturday, 14 September 2013

Want to come for coffee ! .. and cake... lots and lots of cake....

Hello my lovely likers and followers  - do you live near Cirencester ? let me know how to message you and I will send you an invite to my Macmillan coffee morning on the 27th Sept and to my Autumn Open House Event the following weekend - it would be lovely to see you! 


On the Macmillan Coffee morning -

  • there will be Coffee, Tea and cake
  • you can enter an Audreyscat and homemade yummies raffle
  • all attendees will be entered into a FREE raffle to win some AudreyCat bunting
  • all my AudreysCat stock will be displayed and I will donate 10% of all of my sales and paind for commissions to Macmillan
  • I have a number of local creatives displaying some of their items and Laura will be there with some of her vintage jewellery and other pretties
  • small selection of vintage cake stands and crockery will be on sale

On the Autumn Open house the following week all my stock will remain available for sale and I will be open in the afternoons for tea , cake and chatting - no need to buy just pop in to say hi ! - although it you DO buy 10% of sales and paid for commission will also be going to Macmillan. 

Hope to see you here ! 
Dawn x

AN UPDATE: the final total including, donations, raffle money and 10% from my sales and also from sales of Laura and Carol's Vintage Emphemera was .... £341.50 ... AMAZING thanks to everyone who came :) 

Thursday, 15 August 2013

Yes ... still wearing 'curtains' ....

  Well not STRICTLY true! ... however a few year ago I bought 19 m of this lush gold/silver/brown leaves on black silk dupion. I think I paid about £160 on ebay ? It was intended for some full length curtains for our bedroom ...

Which  , yes ,  I did indeed make.. but since then I've been making clothes with it too! you can see the curtains and the 1st dress ( vintage vogue pattern) I made with it here ....


I've recently pulled this roll of fabric out again, and I have a couple of formal dinners coming up. So I've made a full length dress , teaming this fabric with some fabric my OH bought back from India for me. This was from an adapted '60s vintage pattern. I have also made a full length - almost circlar - lined black skirt. This last item is perhaps my favorite - fabulously 'swishy' and glamourous !


I think so far I've made that £160 outlay work pretty hard !

What's next ? I think I have enough left for a 50s swing coat ... watch this space ... ( but you may have a long wait .. i've been doing A LOT of sewing recently! )

Thursday, 1 August 2013

WOW! featured in House Beautiful

So those lovely people at House Beautiful contacted me regarding how I use vintage fabric in my home and they have kindly featured our house in their Sept issue ( out 1st August p64 ) . Enjoy :)


( the house stayed this tidy for a couple of days ... but then the piles of vintage fabric slowly invaded again !  )


Friday, 24 May 2013

.. and another thrifty vintage fabric project....

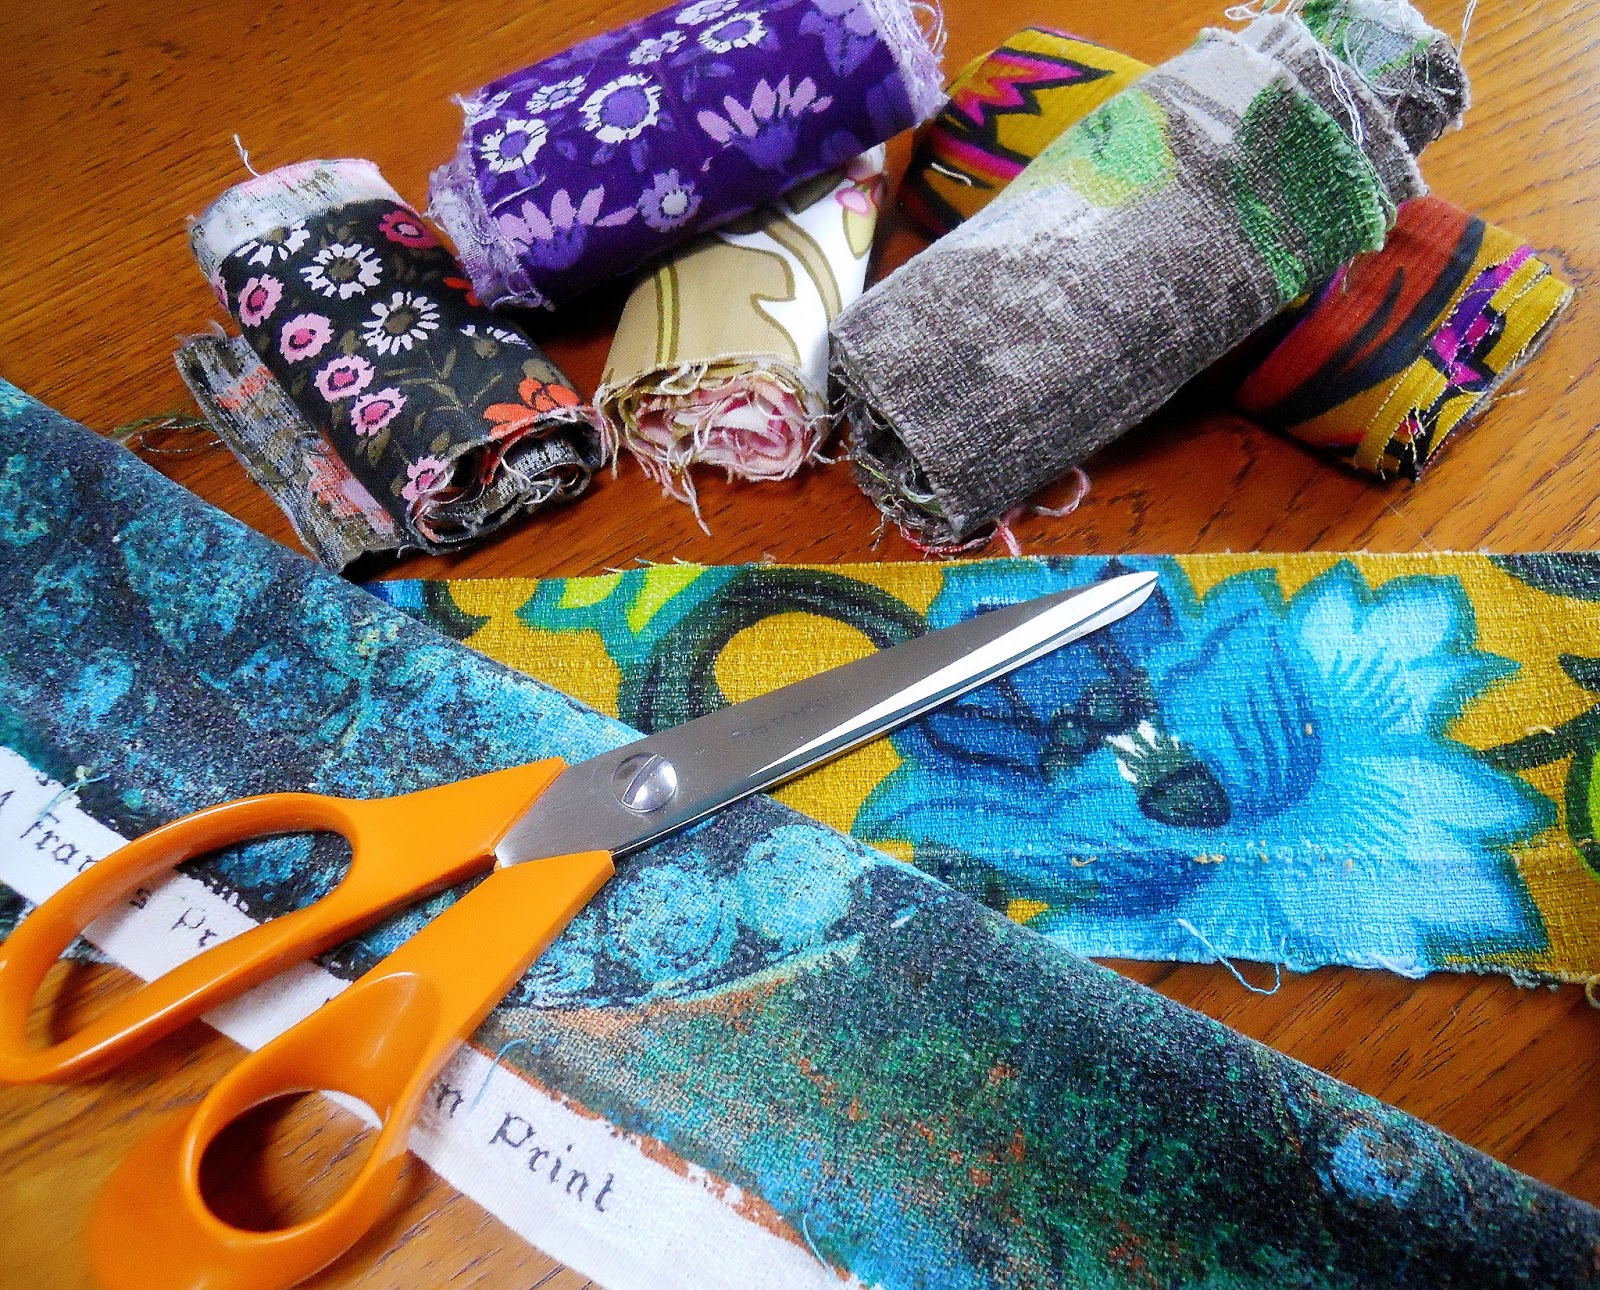
So when I get vintage fabric it is frequently in the form of curtains. I unpick the seams, wash , dry ( outside preferable WHEN we get sunshine.... remember sunshine....?!? ) and I iron the lovely fabric.

HOWEVER one is always left with foldmarks where the hem was - so you can have quite long strips of fabric to use up in some way - because NO WAY will you throw away even the smallest scrap . This is what I've been using the hem remenants of some of my favorite fabrics for :

1. Spend ages selecting your remenants - and BOY I have a lot ....


2. Sew them together like a big fabric jigsaw, pressing out seams ( I also sew flat) and adding co-ordinating trim as you go . You then need to cut the front patchwork fabric to match your cushion size.  I like to make my cushion covers a fairly tight fit so for a 50cm by 60cm cushion I will work with a 53cm by 63cm piece giving a 1.5 cm seam allowance. I cut my backing fabric ( usually plain white/cream lining cotton ) for the patchwork piece a bit larger as I can trim it later


3. I tend to like piping on my cushions  - you can make piping or buy it . If you want to make it this is a good tutorial http://sewfearless.com/2011/12/13/taking-the-leap-into-handmade-piping/ .  Sew on piping as per the link, making sure the  piping stitch line matches the cushion size - ie. about 1.5 cm in from edge of patchwork piece.  

4. I then tend to use an envelope closure for the back of the cushion. You can follow the stitch line from piping as a guide.Here's another useful link http://www.ehow.co.uk/how_4762220_sew-envelope-back-pillow-covers.html . Sometimes I use a zip closure but in a boy'ish household there's a chance of cushion/pillow fight tomfoolery and a zip in the face isn't much fun...


5. Trim the excess fabric from seams - I like to zig zag the raw edge. Turn inside out, iron and  stand back and admire ... :)

"The cobbler's children go unshod "

Are you familiar with the phrase "The cobbler's children go unshod" ? It means that the cobbler spends so much time looking afer his customers' needs that he has no time for his children's.

Now my kids DO have shoes .... but I spend so much time create goodies for my customers my own projects get sidelined. My cushions were looking particularly scruffy - not good for someone who has SO much lovely vintage fabric! 

So my cushions are getting updated - these 'new' vintage  ones are for the family/dining room - where the colour theme in accents of orange and blue. I still have more to do for the front/music room ! I've also  got some fabric framing projects to do and some skirts to make for myself ... so... I'd better get busy!


PS - My shops are shut over half term whilst I play with the kids and play "catch up" with my projects :)  Back to work on Mon 3rd June.


Dawn x


Thursday, 25 April 2013

Purple Hallway progessing slowly ...!

So I have some bunting to finish and door curtain to sew BUT I have managed to cover this linen basket and make this fabric panel .... we do like a splash of colour here !

Here's the bunting I'm making ... too subtle maybe ... (!?!?!?)


UPDATE! Pretty much done now :) May 23rd 

Sunday, 31 March 2013

Latest House Project - hall revamp 70s style !

A work in progress -  but we have started by painting a Hall way wall purple! Watch out for future photos....

These are other things to do with some of my vintage fabric for this project

1. Cover a HUGE canvas with this fabric to go on wall


2. Use some of this as feature fabric on a cream or beige full length door curtain ( it's a Heals barkcloth called 'Pageant' by Jyoti Bhomic - expensive stuff )
 3. Learn how to cover lampshades in the fabric above!

4. Find a spot to also hang this large painting that I did a while ago


Ok it won't be subtle but it also won't be dull!

Pictures to follow when complete - hopefully in a couple of weeks :)

Wednesday, 19 December 2012

The Car Boot Vintage 70s Wallpaper is UP!


We found this wall paper a couple of year ago for £1 and finallty got around to putting it up! we have quite a few vintage bits of furniture now about the house favouring 70s solid wood and a fair bit of G Plan. This is a feature wall in our rather large L shaped family room/dining/kitchen area, the accent colours throughout being orange, aqua and turquoise.


We recently replaced our Dining room suite with a  G plan one , reupholstered by myself in a favorite Francis Price barkcloth. The large horse textile hanging is on the opposite wall to the wallpaper one. PLEASE NOTE my house is not normally this tidy !


Sunday, 21 October 2012

Thrifting Success

Went over to Siddington Village Hall for the table top sale on Sunday - just for a little trip out and expecting just a tea and cake session -  and bought some exciting bits and pieces . Met the dapper and slightly cheeky Laurence Llewelyn-bowen and bought a great tray and tea cosy from his charming wife Jackie and their daughters ( Jackie being the designer of these products). I think the tray ( the design is Verandah ) looks particularly fine with my grey and blue poole china. Since the L-B's moved to the area they have been very involved in local activities which is rather super. 


Met another lovely couple who sold us a set of 4 of these rather fabby chairs ( I know you are shocked - not - how COULD I resist them! ) and some sweet japanese style tins .... and WOW look at the 3 china cats - they will be featuring in some of my product photos I think... (the bunting is mine - plenty of that available in my Etsy and Folksy shops !)

Monday, 1 October 2012

2012 Autumn Open House Event !

Once again I'm having my Autumn Open House event - this year I'm donating 10% of offline sales to MacMillan cancer ( I did the same for my stall at a friend's coffee morning last Friday) . It's a good opportunity to get my stock out, take some more photos and drink tea with my friends :) ! ( and eat cake... obviously once I've had time to bake some that is...! )

This is just a glimpse of what is available - WOW I've got a lot of luverly stuff!

Tuesday, 22 May 2012

My latest 'House' project

I've been looking for a G Plan table and chairs for a while and was finally rewarded at my local Sue Ryder shop - of which I am a very good customer! So we are now the proud owner of a 'new' dining room set.  To confirm to fire regs the chairs have to be sold minus upholstery so my job this week is renovating and recovering 6 seats. I've made a start ... and I'll post the final results shortly. The fabric is a vintage upholstery weight fabric from the 1960s called  'Pathos' by Francis Price. ( however I also still have 4 other seats and my other dining room table ....opps....)


Saturday, 21 April 2012

'New' Vintage fabric for my curtains


I've been looking for some vintage fabric for my front living room for come time ( crazy given the amount of fabric I already have!) but I wanted something more subtle that the full on vivid retro textiles I use elsewhere. So I was thrilled to find and win on ebay this super, vitually as new, immaculately clean Bevis fabric. We have some redecorating to finish first in this room but I LOVE this fabric.